
Patient Guide
Using VCU Health Anywhere from a desktop or laptop
Welcome to VCU Health Anywhere, an easy-to-use platform that allows you to interact with your VCU Health provider in real-time, at your convenience.
VCU Health Anywhere Overview
Enrollment process
If you schedule your visit in advance, you will receive an email with your upcoming appointment details from “do-not-reply@vcuhealthanywhere.org."
This email will contain the scheduled date and time of your visit as well as a link to start the enrollment process.
Be sure to also check your Junk or Spam folders in case your security settings blocked the message from arriving in your Inbox.
Access to our on-demand urgent clinic is available without an appointment for adults in Virginia from 8 a.m. to 11 p.m., daily. To sign up and start a visit, simply download our app VCU Health Anywhere.
For enrollment help, call (833) 889-9072.
For technical help, call 1-866-795-8200.
Equipment needed
You'll need a few basics for your virtual visit. To make your appointment a success, you will need:
- a strong Internet connection,
- a noise-free environment with limited distractions,
- a desktop or laptop computer with a working webcam, speakers and microphone.
We recommend a strong Wi-Fi /Internet connection.
A separate guide is available for mobile users.
How to access VCU Health Anywhere
Your welcome email
If you scheduled your visit in advance, your welcome email will contain your name, date, time and cost of your appointment.
Once you receive your email from “do-not-reply@ vcuhealthanywhere.org” with your appointment details, click the “Get Started” button to begin the enrollment process.
You'll be directed to vcuhealthanywhere.org. If you already have an account with a password, proceed to the section "Test your computer."
New Users
 Sign up for VCU Health Anywhere
Complete the open fields with your name and email address.
Your email address will be your login moving forward.
Choose a password and enter it in the password field.
Your password must:
- Be at least 7 characters
- Contain at least one letter
- Contain at least one number
Click the checkbox next to “I agree to the Terms of Use” once you've read the Terms.
Next, click the Sign Up button.
Create your profile
Complete the mandatory fields, then click on the “Continue” button.
- Current location
- Date of Birth
- Sex (select male or female)
- Address including ZIP code
It is helpful if you enter the same information VCU Health has on file for you.
Enter your insurance information
If you have insurance, click on the circle to the left of “Yes”. Then, choose your insurance carrier if it's listed. If it isn't listed, click on the circle to the left of “Skip this step / My plan isn't listed”. You'll have another opportunity to enter your insurance later. See page 6 of this guide. If you do not have insurance, click on the circle to the left of “No.”
Service Key: If you receive a key from your employer or another group, enter it in the field under Service Key. This is optional. Click “Continue."
You will then see a “Congratulations” message on the next screen, click “OK.”
Services available to you
On the next screen, you'll notice a list of VCU Health services/specialties that are accessible using VCU Health Anywhere.
 Preparing for your virtual visit
Your upcoming appointment
Click on the calendar icon to see your upcoming appointment details.
You will see the date and time of your scheduled virtual visit, as well as your provider's name.
Select “Continue."
Text reminders
If you would like a text reminder sent to you before your appointment, you can enter your mobile phone number on the next screen. Then, click “Continue."
If not, click on “No Thanks."
Test your computer
It's important to test the specific device you'll be using for your virtual visit.
Click “Yes” to test the computer you are on and make sure it will work for your visit.
On the next screen, click “Get Started."
A window will open and we'll test your computer to make sure the camera, microphone, speakers and Internet are working properly.
Testing confirmation
Once you have completed the testing process, you'll see the two confirmation screens on the left.
Click “Continue," then “Done."
You are now ready for your virtual visit.
Starting your virtual visit
Log in
Go to www.vcuhealthanywhere.org
 If you are a new patient, go the New User section of this guide.
If you forget your password, click on “I forgot my email or password” and follow the prompts to reset your password.
Welcome to the home screen. From here, you can see your scheduled appointment details by clicking on the calendar icon.
You'll notice a notification near the calendar icon if you have an upcoming appointment. If it's near your appointment time, a pop-up window will appear (as shown).
To begin the appointment, click on “Start Visit."
Before you start your visit, there is some additional information we need.
Add your phone number so your provider can reach you if you experience any technical issues during the visit .
If you'd like to have another person who is not physically with you on the call, you can add their information by selecting “Add a guest”. This is completely optional.
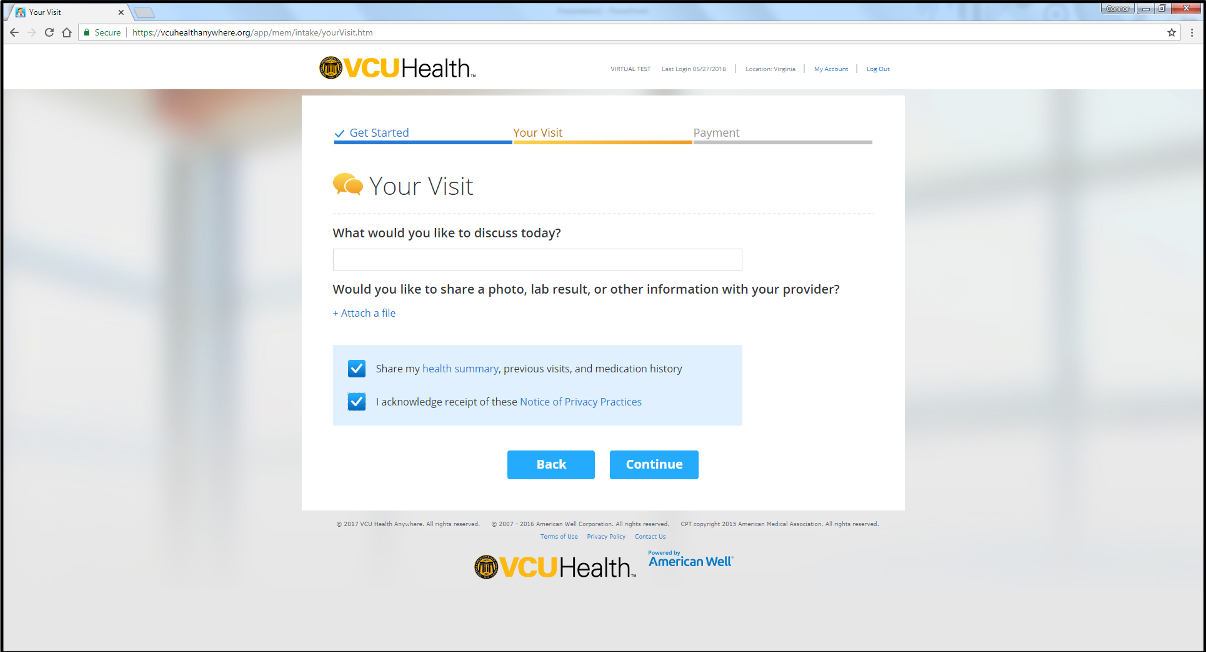
On the next screen, you will have the option to provide a brief description of what you are being seen for. You also have the option to attach a file.
Write a short description of what you were hoping to speak to your provider about and attach a file (photo, lab result, etc.) that may pertain to your visit if you'd like.
This page also asks your consent to share your medical information with VCU Health. Check the box to consent.
Next, check the box next to, “I acknowledge receipt of these Notice of Privacy Practices” once you've reviewed them.
Enter your insurance information.
On the next screen, you'll have the ability to add your insurance information.
If your plan isn't listed, you'll notice an option for this - simply click on the circle to the left of “My plan isn't listed / Prefer not to answer."
If you do not have insurance we offer self pay options.
When you're done, click “Continue."
Setting up your video
Download > Install > Launch
You will be prompted to download, install and launch the video client.
1.) Press the “Download” button to download the video client and follow the steps for installation.
2.) Once installation is complete, select the “Launch” button.
3.) Then, click the blue “Open Telehealth video” button that appears at the top of your screen.
Depending on the web browser you're using, the “Open” option above may be on the bottom or top of your screen. Additionally, if you're using a PC or a MAC, these screens may appear differently.
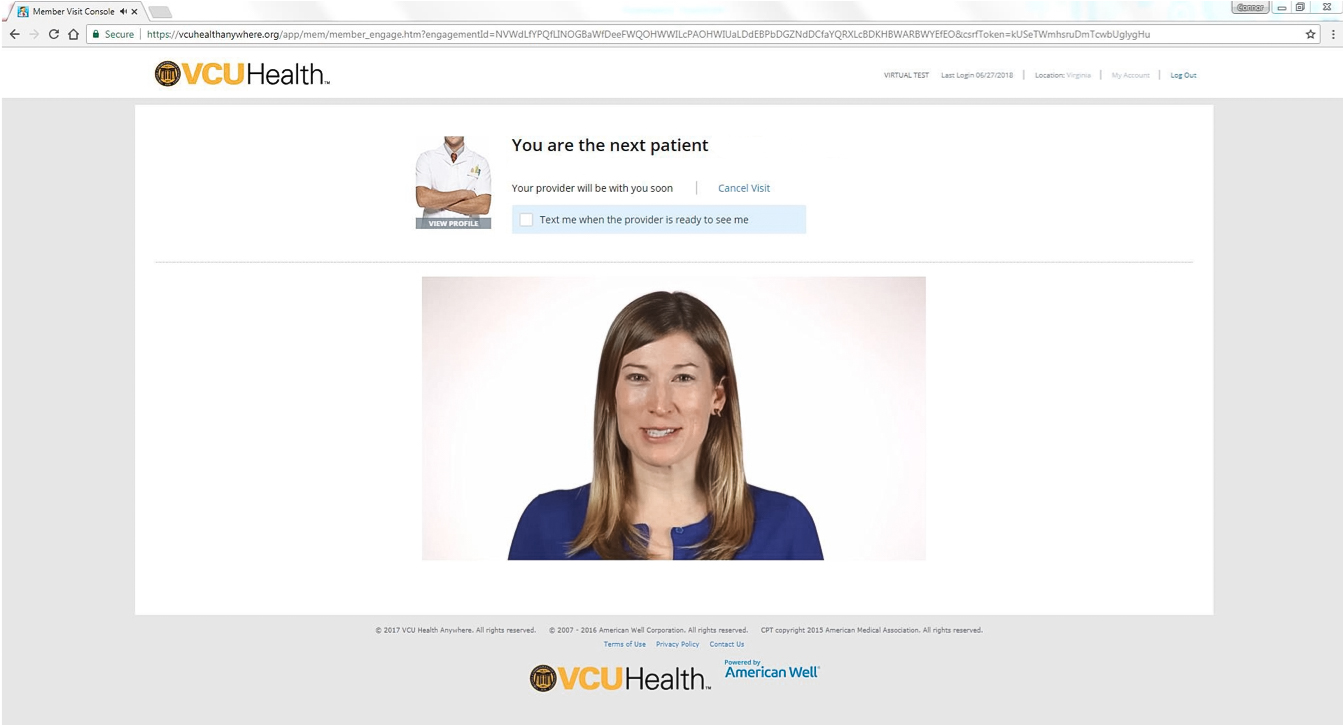 Virtual waiting room
After you have launched the video client, you will be greeted with a short informational video.
Watch the video to learn what you can expect from your virtual visit.
While you're watching the video, your provider is reviewing your chart and any files or documentation you attached. When they are ready, your virtual visit will automatically begin.